Quickstart
Label: powermeter
Overview
Access to the platform requires the following thigs,
- Powermeter which supports modbus RTU protocol;
- One account on DeviceBit Energy Monitoring Plarform (free for personal users)
- DTU devices which can realize TCP to Serial.
The main working procedure is as following:
- DTU is connected to TCP server of DeviceBit Energy Monitoring Plarform by socket.
- The TCP server finds the corresponding information of the account by registration package sent through DTU link process.
- The TCP server initiates the Modbus request based on the account configuration.
- DTU transfers the Modbus request to the Serial request and sends it to the meter. After receiving the reply information of the meter, DTU returns it to the TCP server of the plarform by TCP.
Let's see the following demo case:
Powermeter which supports modbus RTU protocol
Taking JSY-149 meter as an example, the MODBUS related parameters of the meter are changed as follows. Please remember the register addresses which should be configured in the account on DeviceBit Energy Monitoring platform.ower Meter MODBUS RTU Key Parameters
| Register | Description |
|---|---|
| 0048H (Read-only) | Voltage,Unsigned number,Value=DATA/100, Unit V |
| 0049H (Read-only) | Current,Unsigned number,Value=DATA/100,Unit A |
| 004AH (Read-only) | Active power,Unsigned number,Value=DATA,Unit W |
| 004BH-004CH(Read-only) | Forward active energy,Unsigned number,Value=DATA/3200,Unit kWh |
Send data directly with the serial port to verify the Modbus RTU protocol.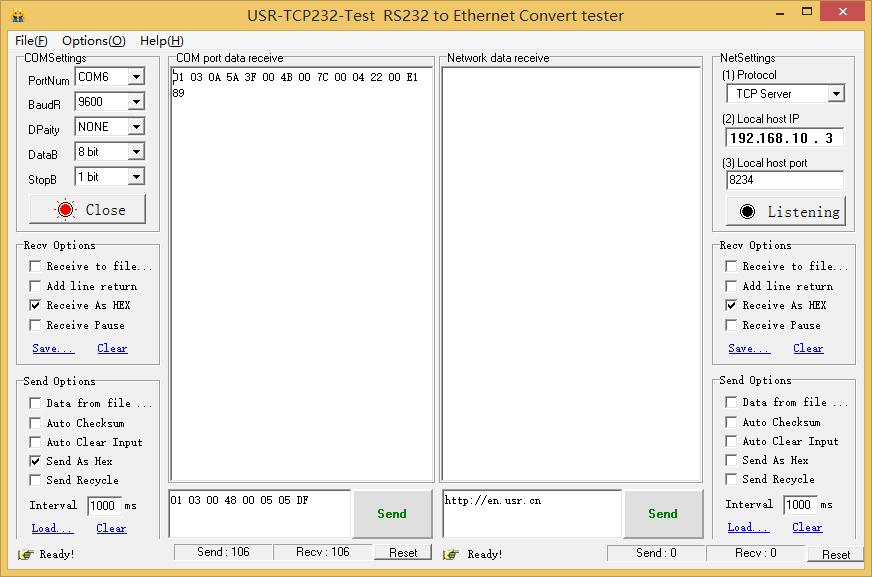
Send::01 03 00 48 00 05 05 DF
Receive:01 03 0A 5A 3F 00 4B 00 7C 00 04 22 00 E1 89
Description:
Voltage:0x5A3F/100
Current:0x004B /100
Power:0x007C
Energy:0x042200/3200
Register User Account on DeviceBit Energy Monitoring Platform
1 Login
2 Click on "Sign up"
Enter the information, remember to tick "Sign up by demo sn".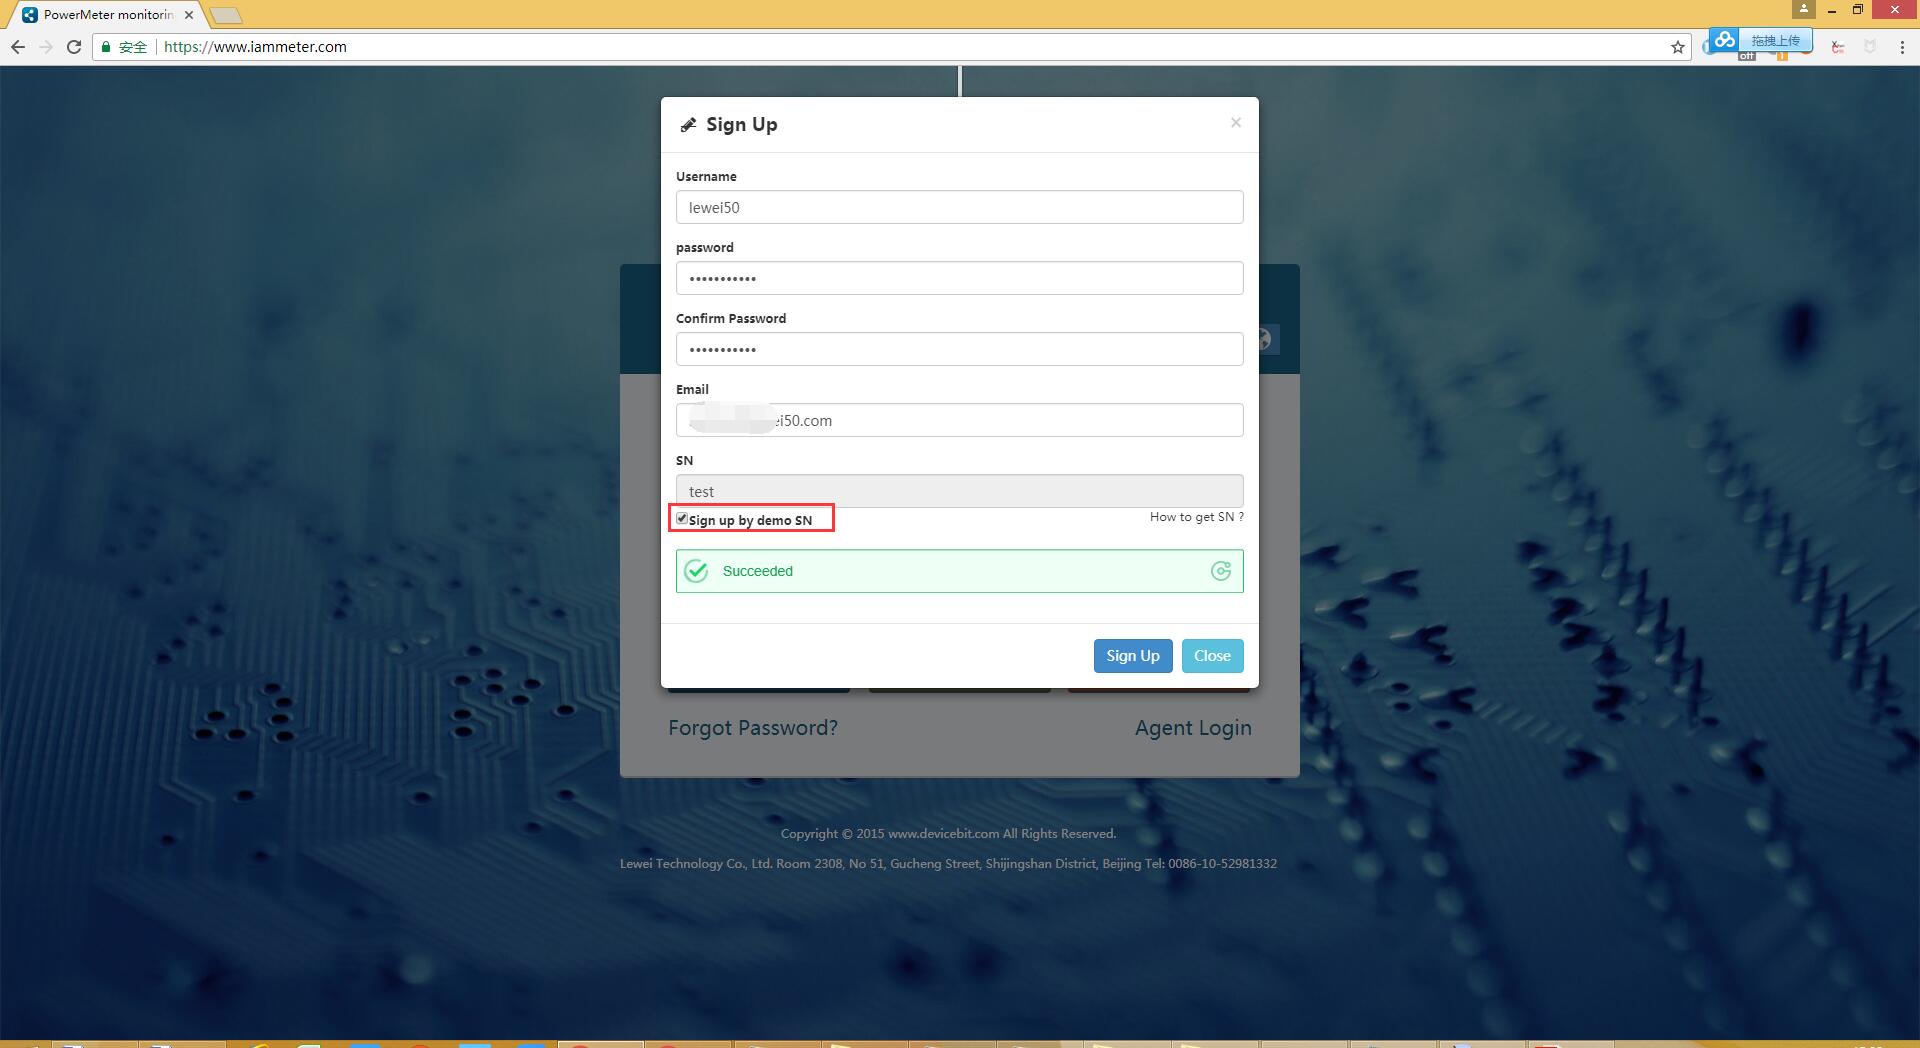
3 Login to the System
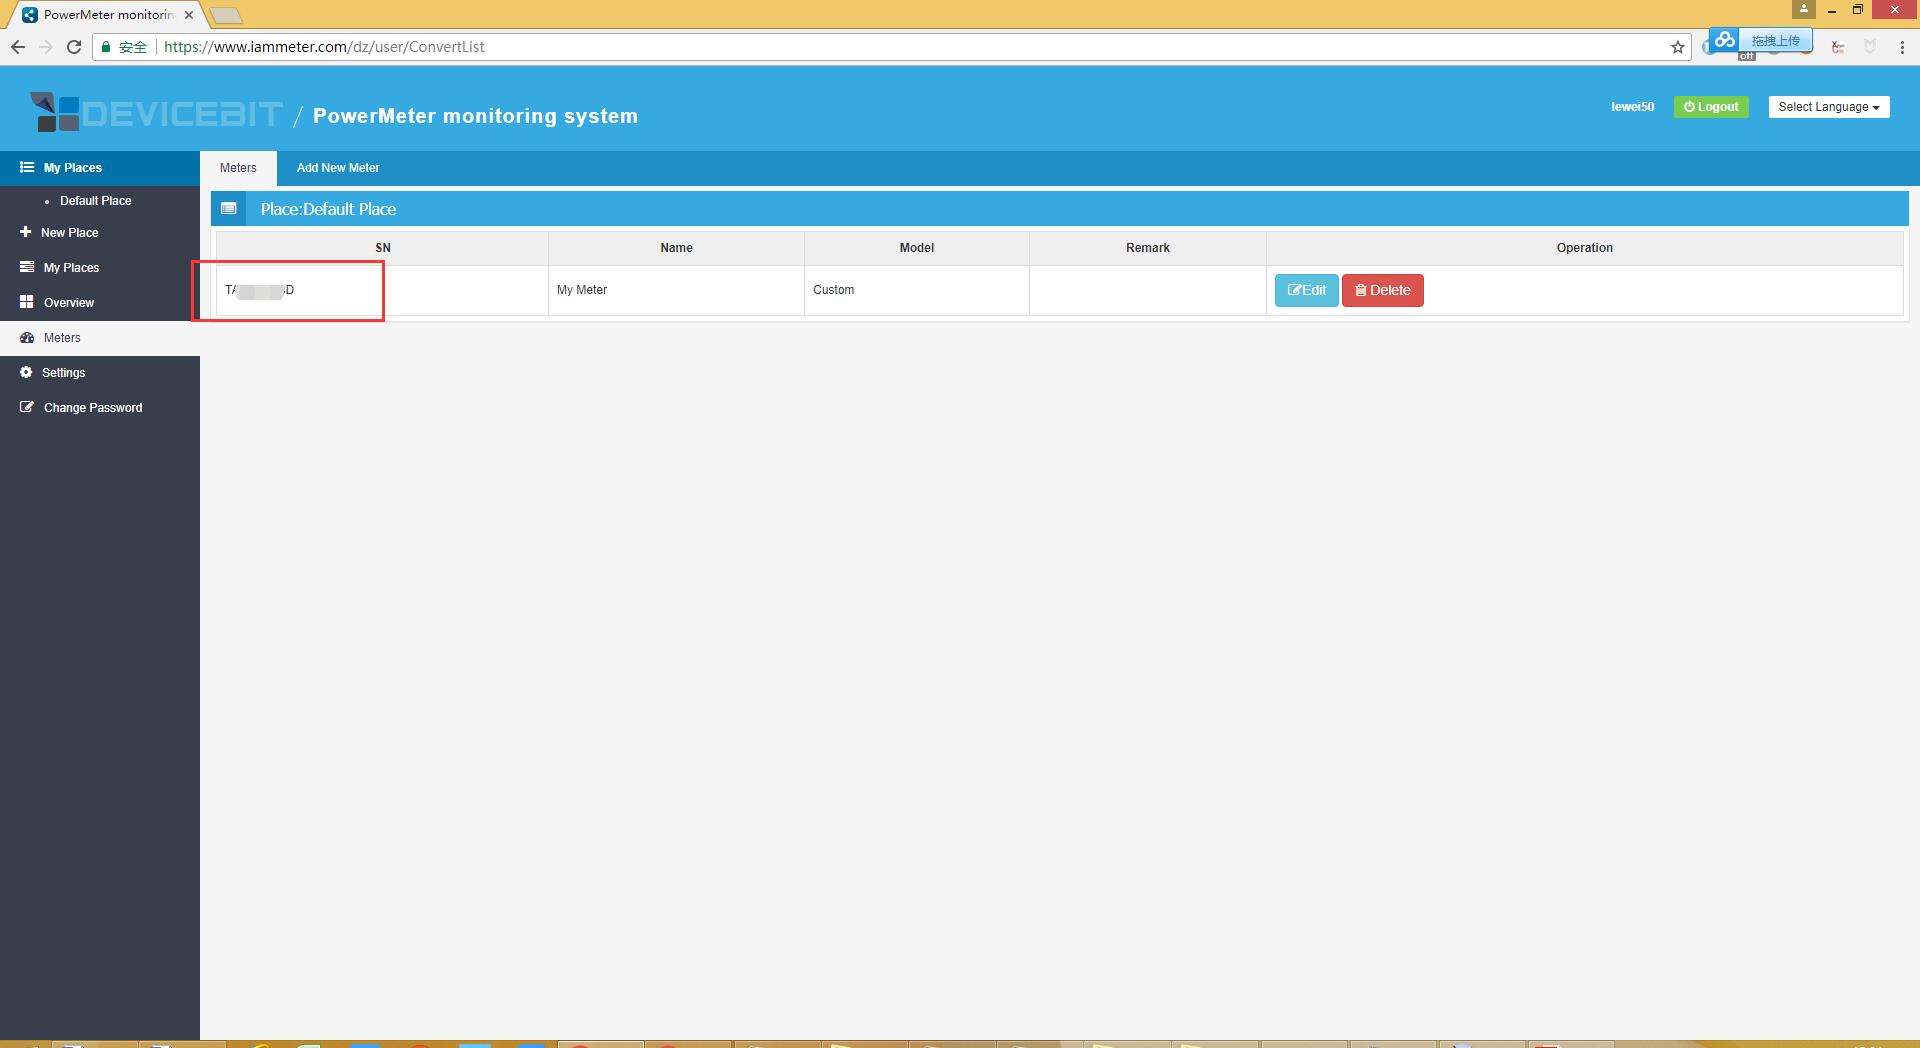
Login to the page for meters, and copy the SN.
Note: this SN is the ID of the device, which requires DTU to notify the platform when socket is established.
4 Click on "Edit" on Meters page
Configure the parameters
If the meter is supported by the system already, just select the type directly. Please refer to the following picture.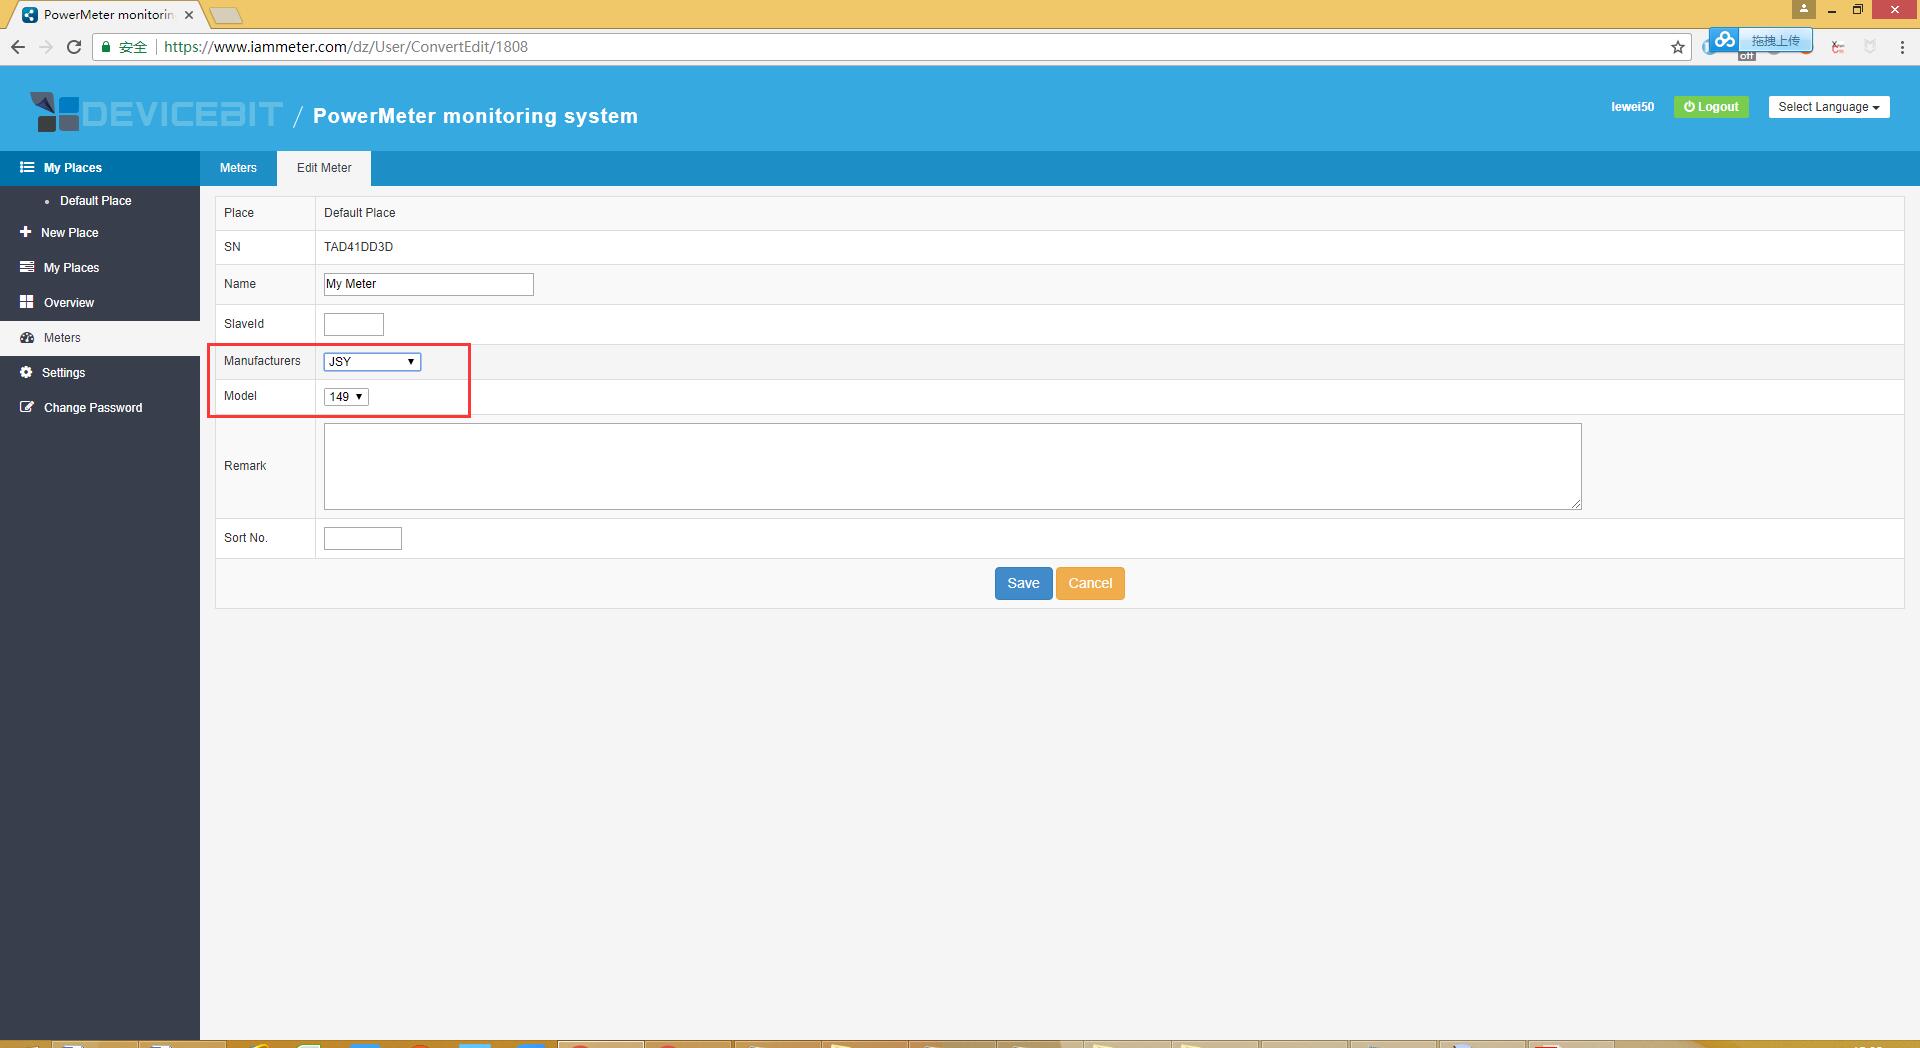
If the meter is not supported by the systme yet, you can customize the registers. For demonstration, we configure the registers of JSY-149 meter again in a custom mode, as shown below.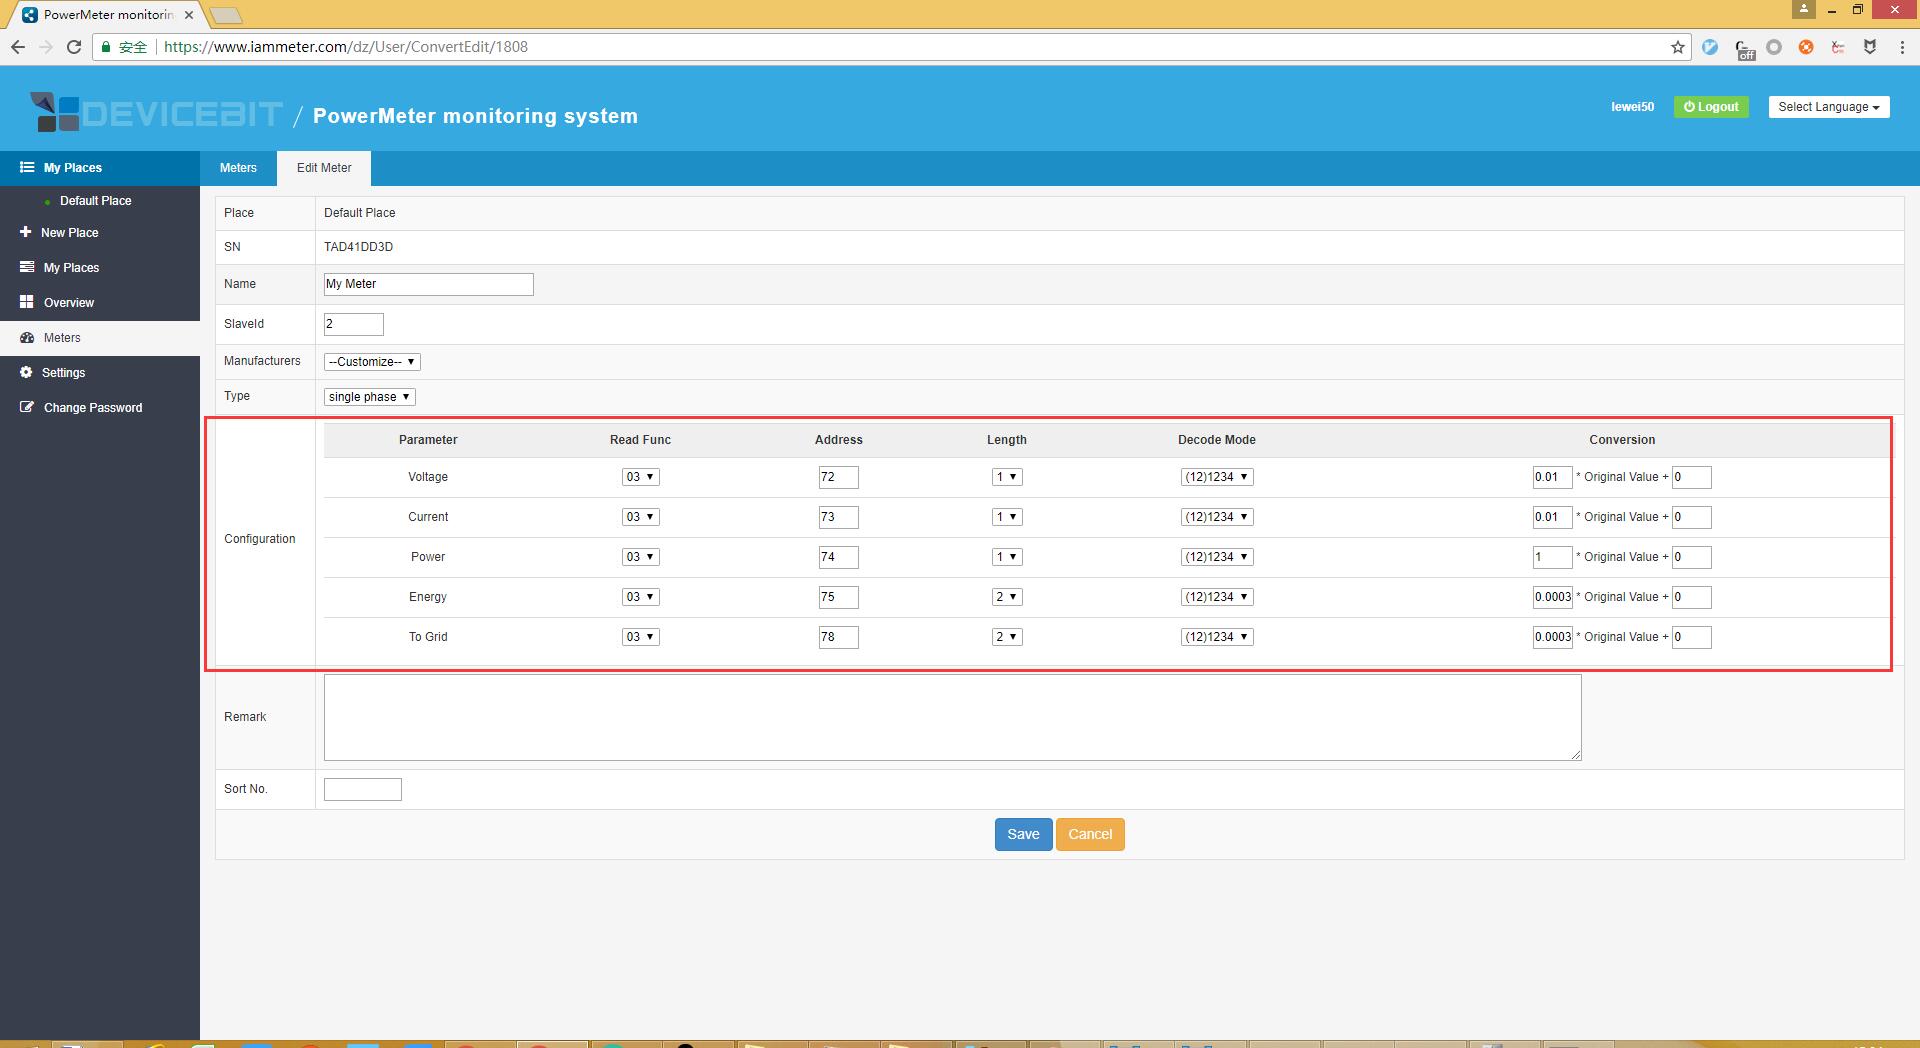
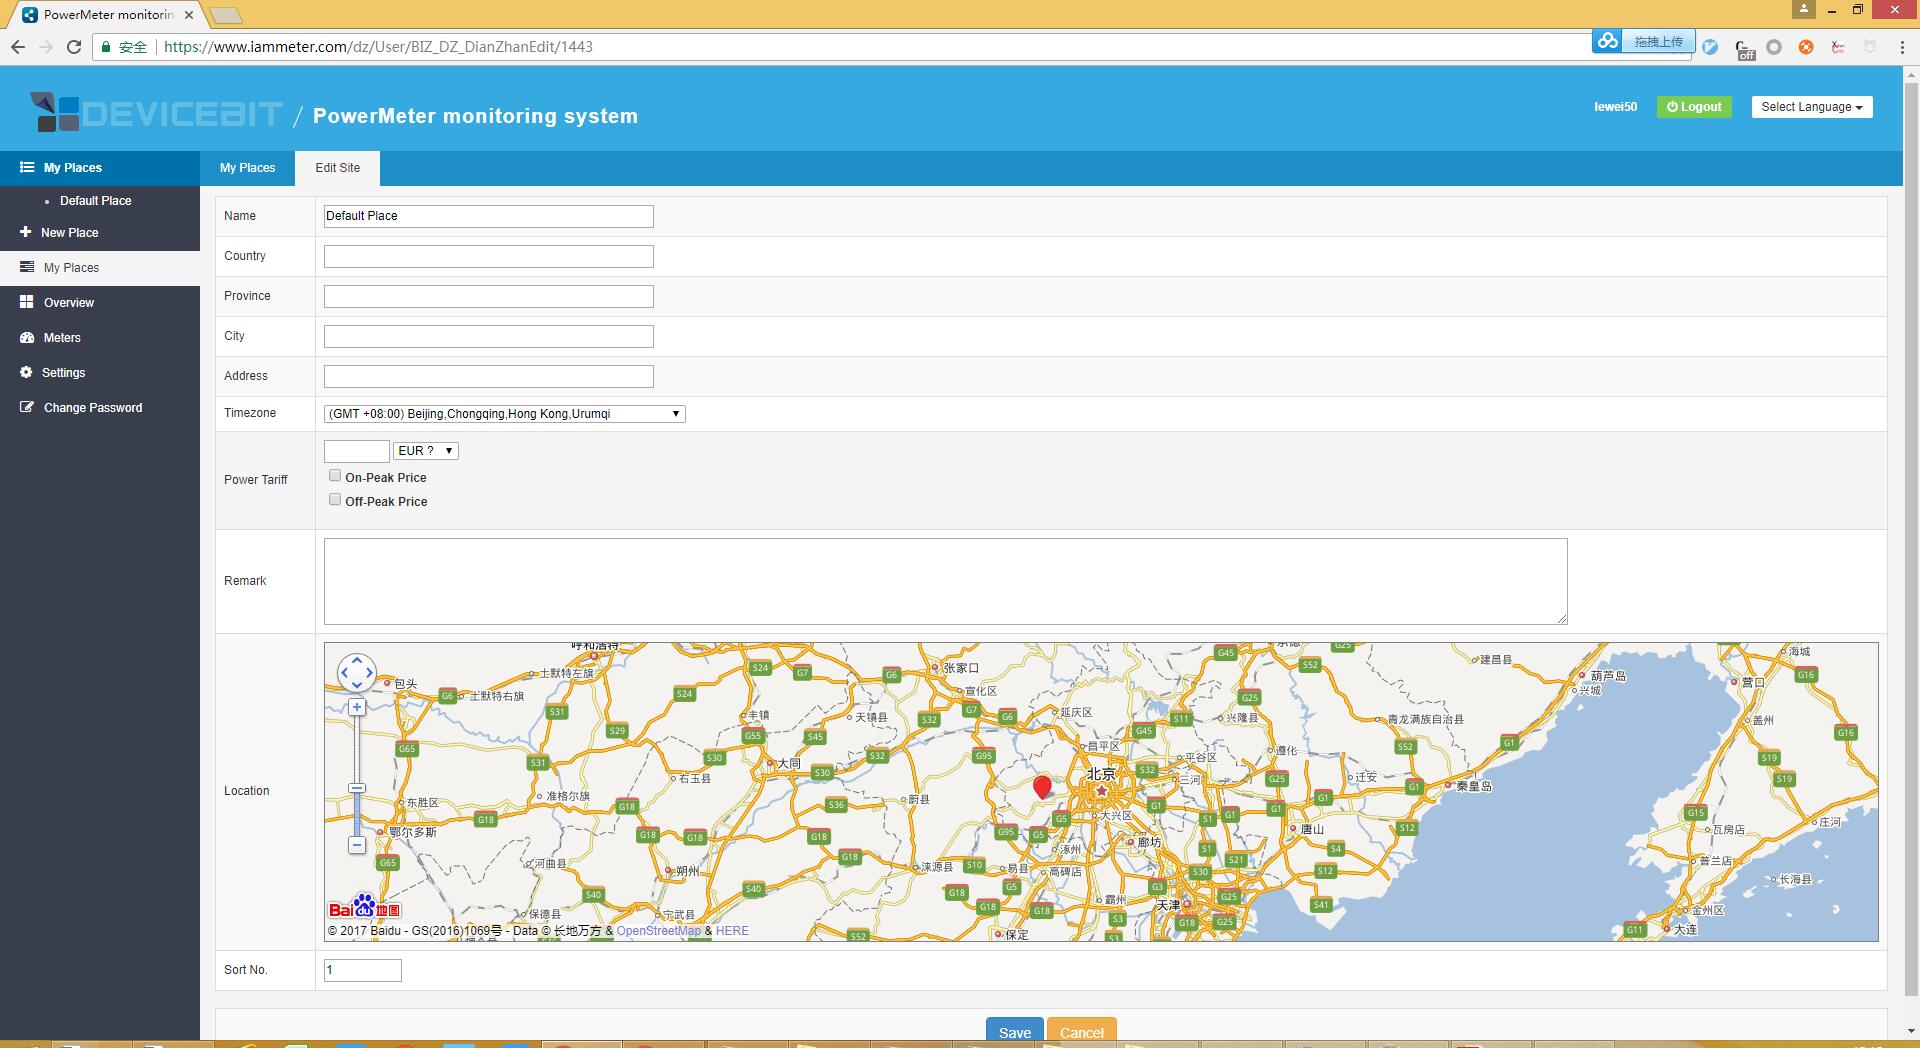
5 Go to "My places" to configure the location & time zone
Time zone selection will affect the time records of data upload.
Configure DTU
There are many DTU brands, and we will not introduce them one by one. Later there will be relevant documents which introduce the configuration for main DTU.
Here, we use a section of Python code to explain the configuration of DTU. If you have installed the python, you can directly run this code to achieve the function of DTU and upload data of the meter. There are only a few lines in the code, and it's easy to see the relevant logic.

The content need to be configured in Python code
message=''
ser=None
#serial_port="/dev/ttyUSB0"
serial_port=5 #serial_port = 8  means serial id 9 in windows
Message
The SN assigned by the system is different for different users, which can be found on the following page.
serial_port
The sequence number for serial port which connect the meter
Run python DTU code

Then, there are the relevant data on the platform.
